Most paint failures start before the first coat goes on. Paint can only be as sound as the surface under it, so an hour spent preparing the wall saves you from repainting later. Follow these steps in order.
1. Clear and protect the room
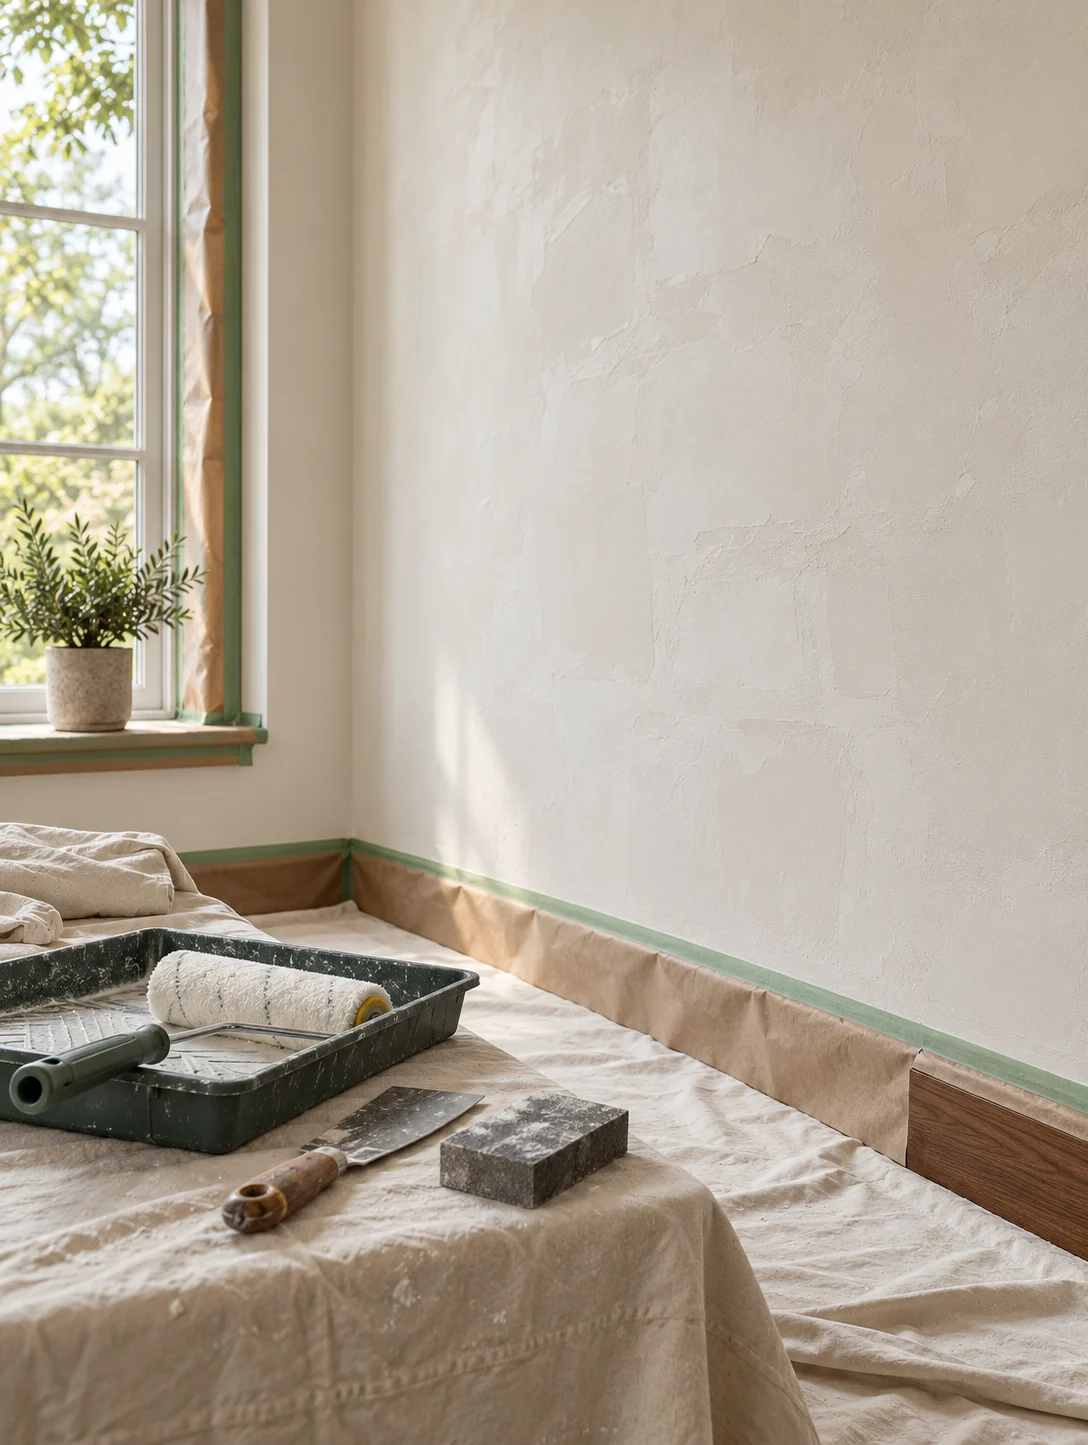
Move furniture away from the walls and cover floors and fittings. Remove switch plates, nails and hooks so you can paint a clean, uninterrupted surface.
2. Clean the wall
Dust, grease and loose material stop paint from gripping. Brush the wall down, then wash kitchen and high-traffic areas with mild soapy water and let them dry fully.
3. Remove loose and flaking paint
Scrape off anything that is peeling or powdery until you reach a firm edge. Painting over loose paint only hides the problem for a few weeks.
4. Fix damp before anything else
If a wall is damp, find and repair the source of moisture first and let the wall dry out. No coating will hold on a wall that is still wet behind the surface.
5. Fill cracks and holes
Fill cracks, dents and pinholes with a filler putty, using an interior putty indoors and an exterior grade outside. Apply in thin layers and let each one dry.
6. Sand smooth
Sand the filled areas and any glossy old paint so the surface is even and slightly keyed. Wipe away the dust afterwards.
7. Prime
A primer seals the surface, improves adhesion and helps the top coat cover evenly. Use an interior primer for inside walls and an exterior primer for outside walls, and a red oxide primer on bare metal.
Now you are ready to paint
With a clean, dry, smooth and primed wall, your top coats will go further and last longer. For the full sequence see our painting guide.